Subdirectory Creation

General notes, terminology and policies

  1. Please use caution when in the directories. You have the ability to delete files, and directories. This should never be done.
  2. Not all roles see every directory. You can check the Assignable Roles section in the HogScan Setup Notes document to see which roles can see which directories.
  3. This tutorial shows how to create a subdirectory under one of the five (5) predefined directories; shared, primary_officers, activities, road_captains or membership.
    • The standard for directory/subdirectory names says;
      • names must begin with a letter and may not end with an underscore
      • only use letters, numbers and underscores in names
      • avoid the use of multiple consecutive underscores; these can be hard to read
      • use underscores where you would naturally include a space in the name (e.g. first name becomes first_name).
      • keep the length to a maximum of 30 characters
    • Note: The users directory is unique to each individual. Any subdirectories created, or files added, cannot be seen/shared with other users.

Create a New Subdirectory

  1. Login to your account on raleighhog.com
  2. Click the My account link in the navbar. (reference image below) screenshot showing my account link
  3. On your account page, click the File browser tab. (reference image below) screenshot showing location of file browser tab
  4. The ensuing page shows all the directories. Depending on your role, you may only see a subset of them. Note: when first viewing the directories the users directory is expanded by default. As noted above, this directory is unique to each individual and will not be covered here. (reference image below) screenshot of directories page
  5. To create a subdirectory you must first select the directory for which the subdirectory will be a child. For this tutorial, we will create a subdirectory under the activities directory.
    1. Click the activities subdirectory to highlight it. (reference image below)
    2. Click Directory in the toolbar and the pop-up appears. (reference image below)
    3. Enter the name of the subdirectory (following the naming convention above) in the Subdirectory name field. Click the Add button. (reference image below)
    4. A success message briefly pops up confirming the subdirectory creation and you will see the newly created subdirectory. (reference image below)
  6. You can create a subdirectory within a subdirectory. The following steps will create subdirectories under the calendar_images subdirectory we just created. Recall that we need to select the directory where we want the child.
    1. First, click the calendar_images subdirectory name then click Directory from the toolbar to get the pop-up. (reference image below)
    2. In the Subdirectory name field enter the new subdirectory name, then click the Add button. (reference image below)
    3. A success message briefly pops up and the newly created subdirectory can be seen. (reference image below)
    4. Repeating steps 6.1 through 6.3 I created two additional subdirectories (dealer_events and loh_events) for calendar_images.
    5. The following image shows the three subdirectories for the calendar_images subdirectory. These additional subdirectories will hopefully make it easier to organize, and find, images for different events being added to the event calendar.
  7. Following the steps starting from step 5, you can create additional subdirectories as needed.

Delete a Subdirectory

Only follow these steps if you inadvertently created a subdirectory

Only delete a subdirectory if you created it and know it is not needed. Extra caution should be taken before deleting any subdirectory that contains pdf's, images, etc as deleting them may break existing links on your website.

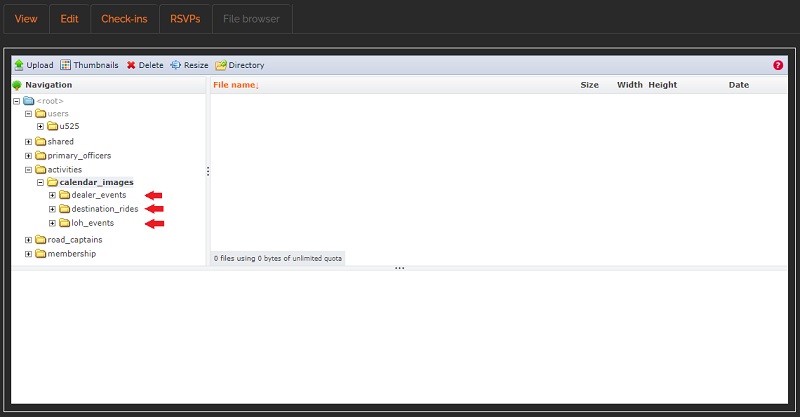
  1. In this example, a subdirectory named destination_rides was inadvertently created in the road_captains directory and we want to delete it.
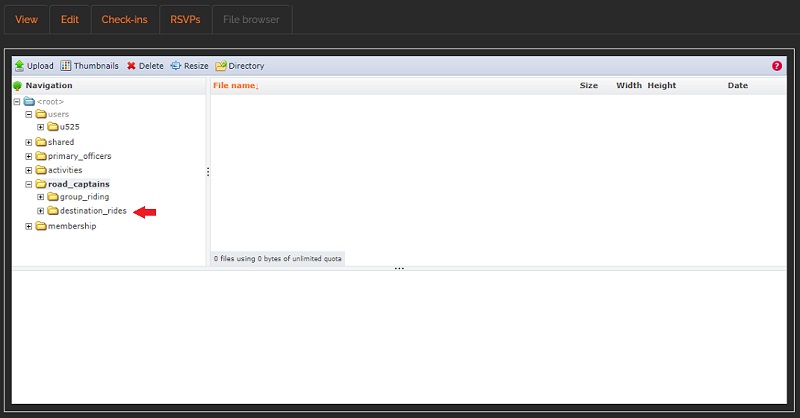
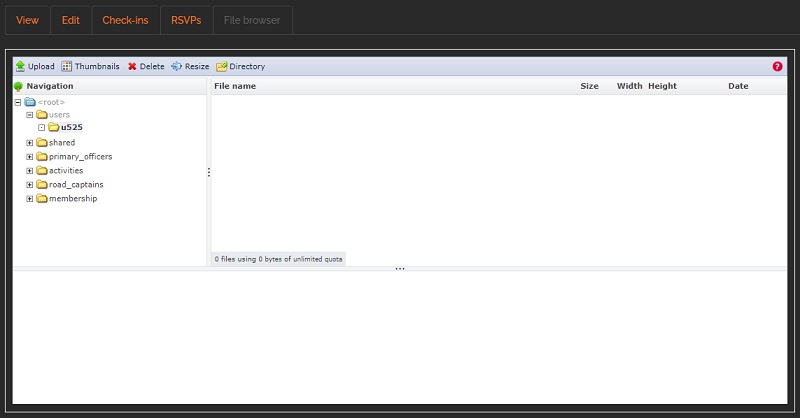
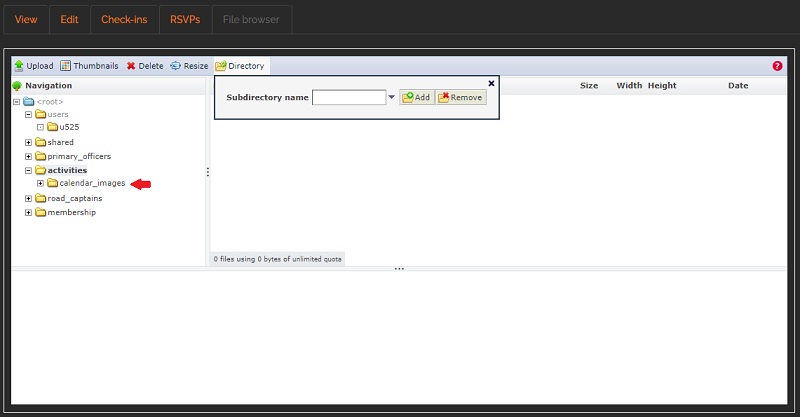
  2. Ensure that we are in the correct directory for the subdirectory we want to delete
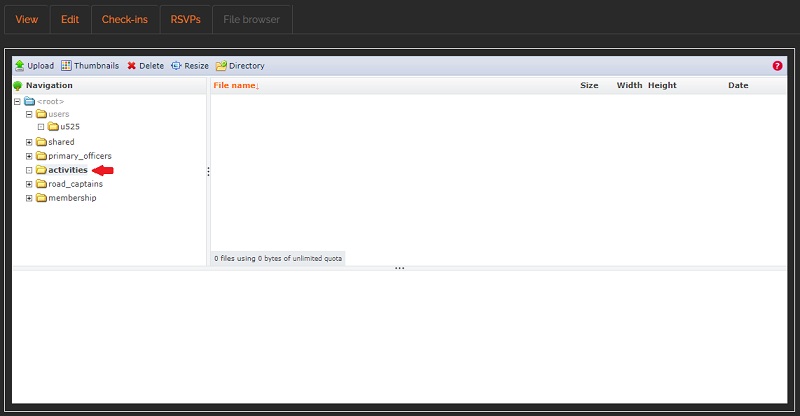
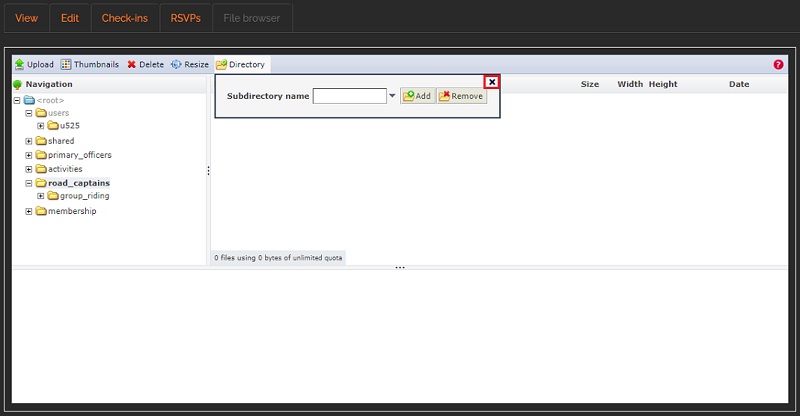
    1. Click on the road_captains directory to highlight it. 
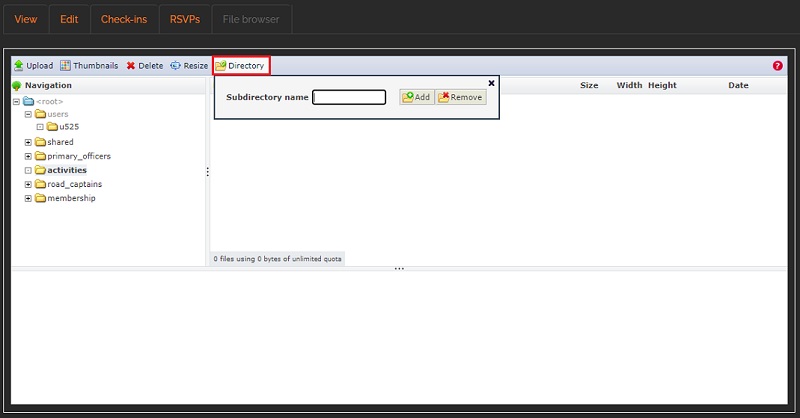
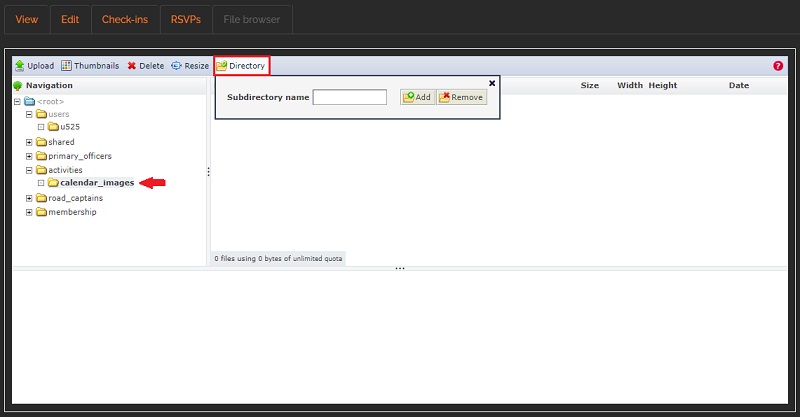
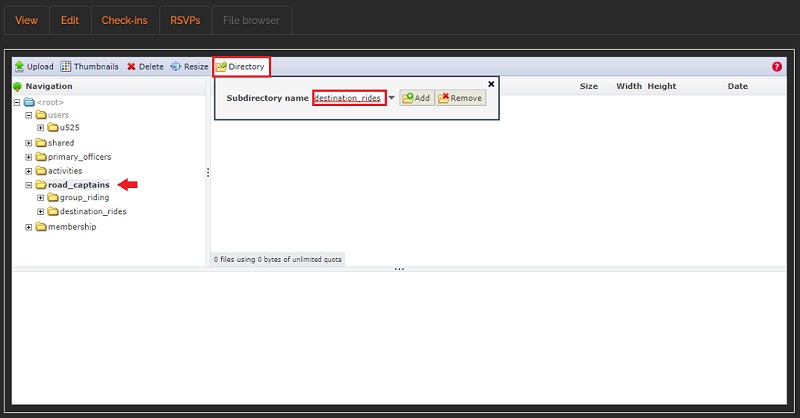
Then click Directory in the tool bar. The pop-up appears. 
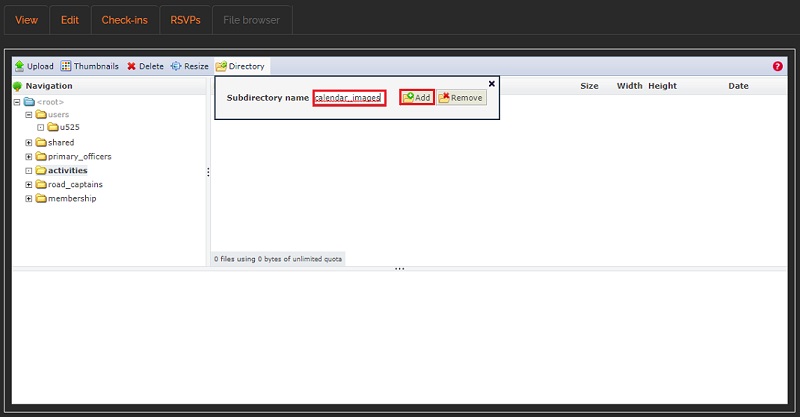
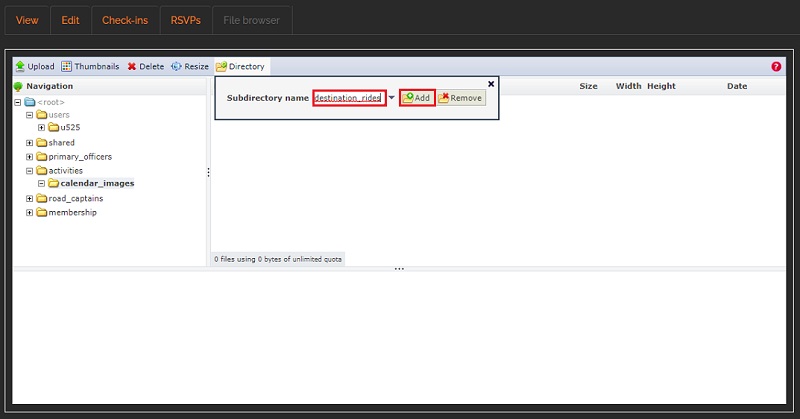
Enter the name of the subdirectory to be deleted in the Subdirectory name box, then click the Remove button
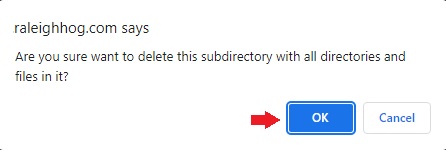
    2. You will get a confirmation pop-up asking if you're sure you want to delete the subdirectory. Click the OK button to comfirm. Note: You will always get a pop-up when trying to delete a subdirectory (or any files within a directory/subdirectory) so that you do not inadvertently delete something. see image below
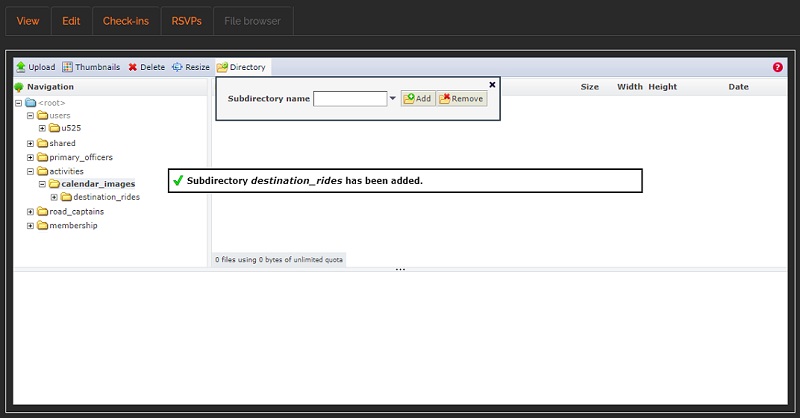
    3. There will be a brief confirmation pop-up saying the subdirectory was deleted and, as shown in the following screenshot, the subdirectory has been deleted from the road_captains directory.
  3. That's it! You have successfully deleted an inadvertently created subdirectory.