Upload Pictures to the Galleries
General notes, terminology and policies
- Rather than having many small galleries, events for each month are placed in one gallery with the title
MMM YYYY [ eventName1 + eventName2 + etc ] where MMM is the first three letters of the month, YYYY is the year and the event names are in square brackets.
- From the HOG Chapter Handbook, "Harley-Davidson discourages H.O.G.® chapters from publishing any photographs of minor children, even with permission from a parent or guardian". We adhere to this policy.
- Note, images to upload must be one of the following file types;
png, gif, jpg or jpeg
- There are two environments in which you can work;
- The sandbox environment is where you can test and try things out to familiarize yourself with the steps you will be going through. The sandbox environment starts with dev. Our sandbox environment is https://dev.raleighhog.com
- The production environment is the site that all members see. This is where you make the changes that chapter members see. Our production environment is https://www.raleighhog.com
- Please note that prior to doing anything in the production environment you can test in the sandbox environment first. This environment is used for testing and is not seen by members.
- Login credentials are the same for both environments
- Your webmaster will help with any questions you may have.
Upload Images
- Login to your account on raleighhog.com and you will see a smaller Navigational Bar (navbar) on top of the Chapter navbar.
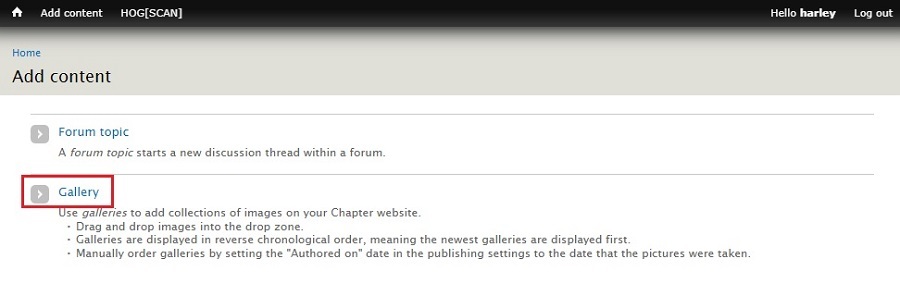
- Referencing the image below, click Add content in the Admin navbar.

- Click Gallery from the page that opens.
- Note: Forum topic has been turned off for the website. It is not used and is out of scope for this document.
- Referencing the image below, the Create Gallery page opens.
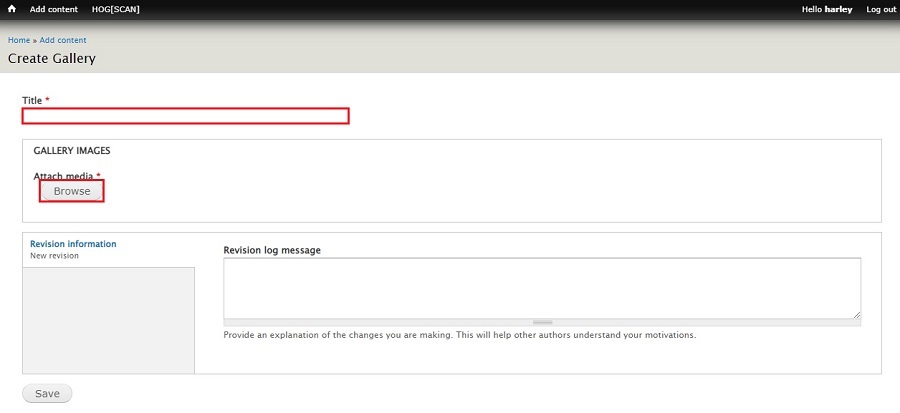
- Give an appropriate Title. We use the following naming convention;
- MMM YYYY [ eventName1 + eventName2 + etc ] where MMM is the three letter abbreviation for the month and YYYY is the year. (For consistancy throughout our website, if the Gallery will contain images for the chapter meeting the event name is Monthly mtg)
- Click the Browse button
- Referencing the image below, the following pop-up appears where you will load the images for the gallery.
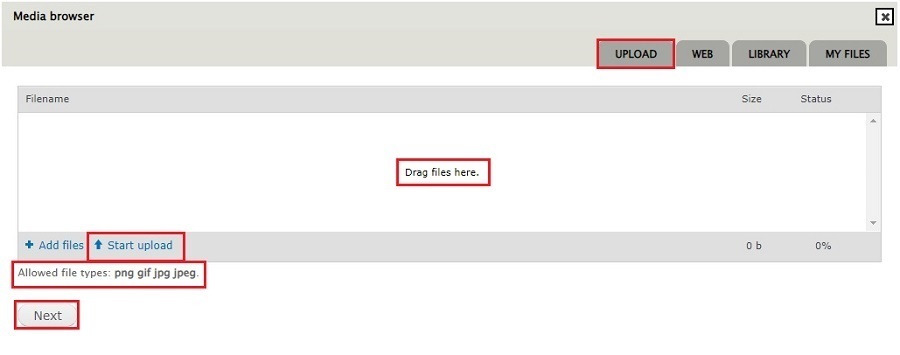
- I've only used the 'UPLOAD' method. The instructions that follow are based on that
- Note 'Drag files here'. This is where the you will drop the images to be uploaded
- Allowed file types are
png, gif, jpg and jpeg
- 'Start upload' and 'Next' will be explained in the following steps
- Note: There is an 'Ask a question' button that has been removed from the next few images. Do not use this button as questions go to an Admin and will not be seen. Contact your webmaster if you have any questions or issues.
- Select the images you want to upload and drag them to the section that says Drag files here.
- Referencing the image below, after dragging and dropping images click Start upload.
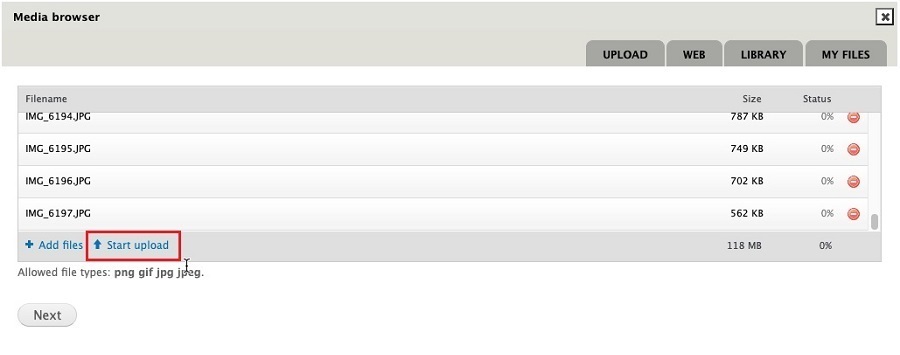
- The following image shows the upload in progress. Depending on the number of images, and size of each image being uploaded, it will take a few minutes for all to upload. Wait until all images have uploaded.
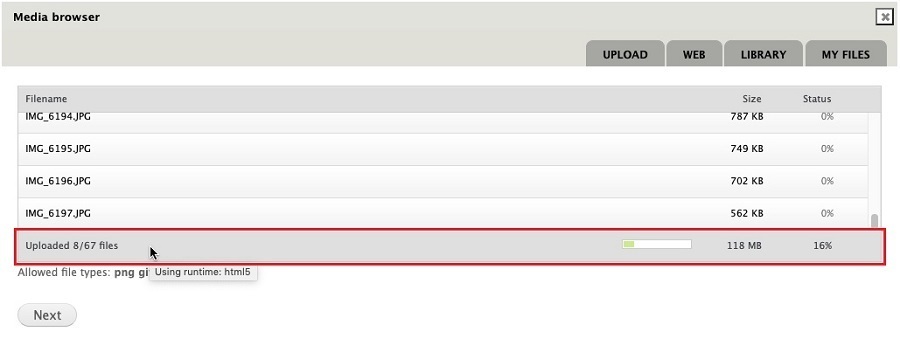
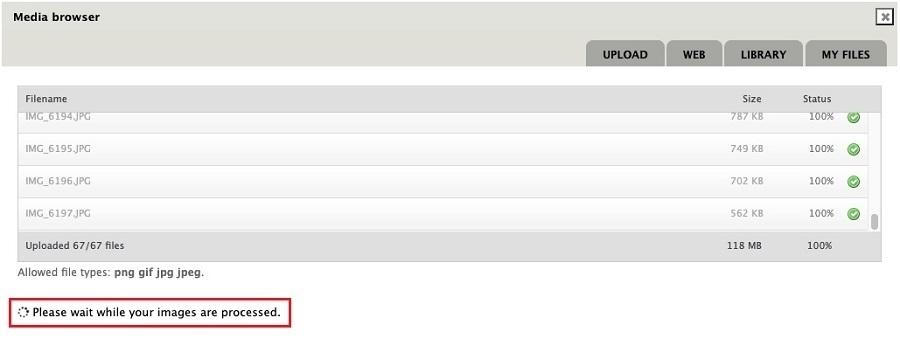
- Referencing the image below, after all images have uploaded, click the Next button.

- The image below shows the 'please wait...' message. Wait until all images have finished processing before continuing.
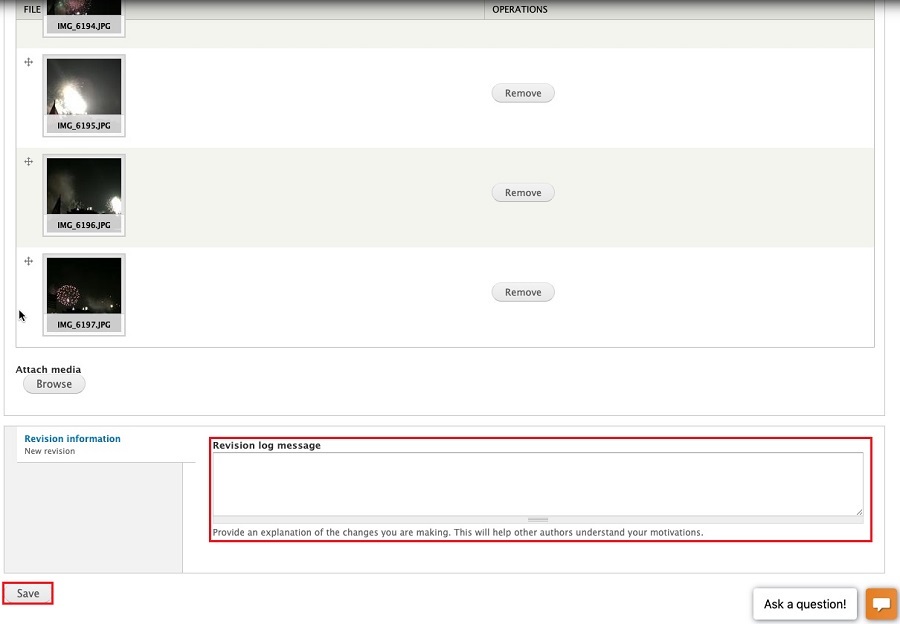
- After all images have been processed you will see a thumbnail image of each one.
- Optionally fill in the 'Revision log message' prior to clicking the Save button. A short message such as "initial upload of title images" (where title is the name of the gallery) is sufficient.
- Click the Save button to complete the upload.
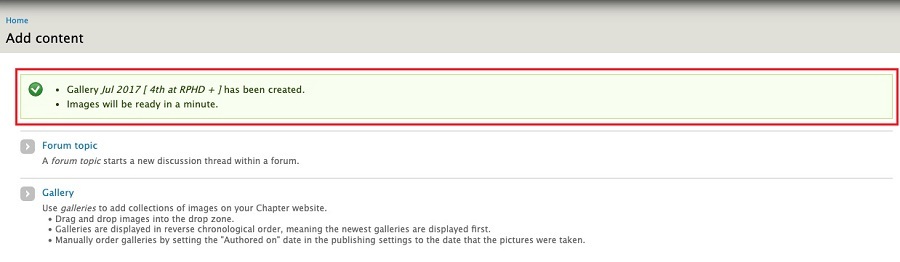
- The following screenshot shows the message that the Gallery has been successfully created
- To add additional images to an existing Gallery
- click the Gallery to open it
- click the Edit tab
- scroll to the bottom of the page
- click the Browse button, then follow the steps starting at step 5 to add additional images
- Follow all the steps above to create a new Gallery